Pay a Voucher
- Access
the Vouchers area.
- Do one of the following:
- Click Actions
> Pay Vouchers on the options bar.
- Click Actions
> Pay Vouchers on the menubar.
- Right click a voucher
and select Pay
Vouchers.
- Choose the Bank
account from which to pay the vouchers.
- The Agency defaults to
<All>
but can be changed to a specific agency.
- The current Accounting month
defaults in but can be changed if necessary.
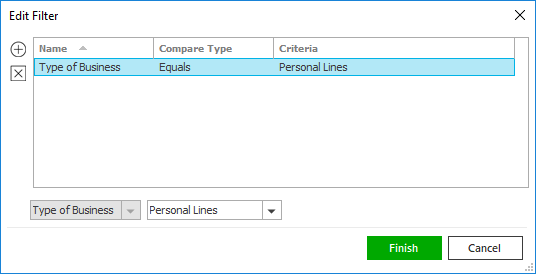
- To locate vouchers that match specific criteria, make a selection
in each dropdown menu. The fields vary, depending on the options you
choose.

These
are the choices in the first dropdown menu:
- Account Lookup
- Accounting Month
- Discount Date
- Due Date
- Invoice Date
- Payee
- Refer #
The
choices available in the second dropdown menu vary, depending on the selection
you made in the first dropdown.
- Equals: Enter the search
criterion
(e.g., the full description or folder name) in the field to the
right, or select the correct date from the dropdown calendar (if
applicable). Click Find.
- Contains: Enter at
least one character of the desired criterion.
- Within Range: Search
between two different calendar dates. Click the down arrow to the right of each field
to choose dates from the dropdown calendars. Click Find.
To see the filter that
is currently applied to the list, hover over the Search
where text.
You
can apply multiple
filters if necessary.
- Unpaid vouchers matching your criteria display in the list. Deselect
the checkboxes for any vouchers for which you do not want to print
checks. To deselect all of the checkboxes, click the Deselect All link label on the header
bar.
- The Leave net credit vouchers
unpaid checkbox subtracts any credits you have with a vendor
from the checks you are sending them. Select this checkbox
if applicable.
- Select the Print
checks checkbox to print checks for the selected vouchers.
- Click Preview
to view a list of the selected vouchers. Click Close
to close the window and return to the Pay
Vouchers window.
Click
Finish to
continue to the Print
Checks screen. You can choose to print checks for disbursements at
the same time you print checks for your vouchers.

 .
.