Connecting Email on iPad/iPhone
Product: Hosted Exchange
Note: Hosted Exchange and the related design are registered or otherwise protected trademarks of Microsoft corporation.
- Click the Settings icon on the iPad screen.
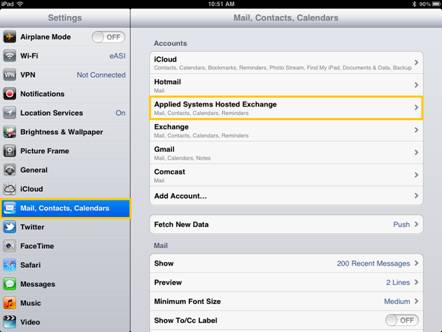
- Click the Mail, Contacts, Calendars option under Settings, then click Add Account… under the Accounts section on the right.

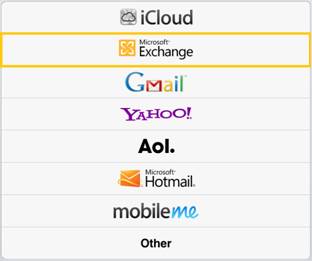
- The next screen displays many different types of providers that can be easily selected to set up email within you iPad/iPhone. Please consult your IT admin if you have any questions about which one to select. Since we are showing how to setup Applied Systems Hosted Exchange, click the Microsoft Exchange button highlighted below.
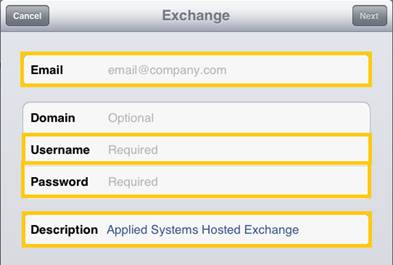
- Within the Exchange window, enter your full Email address (i.e. jdoe@myagency.com), your Username (may be the same as your email address), your Password, and a Description (i.e. Applied Systems Hosted Exchange) for this email account on your iPad. Leave Domain blank. Once this is completed, click the Next button in the upper right hand corner of the screen.
- You are presented with another screen to validate your entries. Click the Next button to continue.
- For Exchange, you are presented with options for Mail, Contacts, Calendars, and Reminders. It is recommended to keep all options selected as ON. Click the Save button to continue.

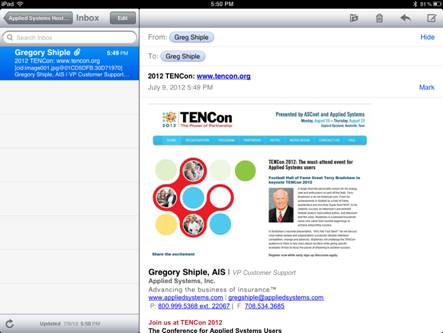
- Congratulations, you have successfully set up an Exchange account on your iPad. From the iPad screen, click on the Mail icon…
…and begin reading & responding to emails, sharing contacts, and setting calendar appointments on your smart device.
- If you ever need to make modifications to this configuration (e.g, change your password or rename the account), click the Utilities icon, select the Mail, Contacts, Calendars option, and finally click the name of your Exchange email account.
Last Revised:
March 13, 2013 02:12 PM
SWE39182