Generate Invoices
Note: This
article contains printing instructions that are only applicable if Applied
Epic is installed locally on your computer. If you access Epic through
a web browser such as Google Chrome, Mozilla Firefox, or Microsoft Edge,
you cannot print directly from within the system. See Printing
for more information about the printing capabilities available from Epic
Browser. All other steps in this article are applicable to both methods
of accessing Epic unless stated otherwise.
From the Home screen, do one of
the following:
- Click Procedures
on the navigation panel.
- Click Areas
> Procedures on the menubar.
- Click the down
arrow next to Home
on the options bar and select Procedures.
From
any other area of the program, do one of the following:
- Click
the down
arrow to the right of the Home
options bar button and select Procedures.
- Click
Home
> Procedures on the menubar.
- Click
Accounting
on the navigation panel or Areas
> Accounting on the menubar.
- Click
Generate Invoices
on the navigation panel.
- To display
invoices that meet specific criteria, use the search bar. Make a selection
in each dropdown menu and enter a criterion in the field, if necessary,
to populate the list.

The
choices available in the second dropdown menu vary, depending on the selection
you made in the first dropdown.
- Exclude:
Available when you select Zero Balance.
Exclude zero balance invoices from the search results.
- Include:
Available when you select Zero Balance.
Include zero balance invoices in the search results.
- Equals:
Enter the search criterion
(e.g., the profit center) in the field to the right, or select the
correct date
from the dropdown calendar (if applicable). Click Find.
- Less
Than: Available when you select Item
#. Enter a number equal to or greater than the number(s) you
are looking for.
- Within
Range: Search between two calendar dates. Click the down arrow to the right of each field
to choose dates from the dropdown calendars. Click Find.
To see the filter that is currently applied
to the list, hover over the Search where
text. To clear the currently applied filter for the current session only,
click the Clear Filter
link label.
Note:
Your filters will save automatically and will be applied by default the
next time you access this list.
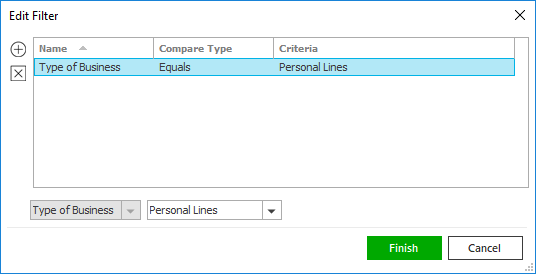
You can apply
multiple filters if necessary.
- You can change
the columns that display in the list if you wish.
- All invoices in the list are selected by default. To deselect all
of the available invoices, click the Deselect
All link on the Available
Invoices header bar. The link then changes to Select
All. Click it again to reselect all invoices.
- Select the checkbox
for each invoice you wish to generate, or deselect the checkbox for
any invoices you do not wish to generate.
- Do one of the following:
- Click Actions
> Generate Selected Invoices on the options bar.
- Click Actions
> Generate Selected Invoices on the menubar.
- The Generate Selected Invoices
window displays. Make a Sort
by selection:
- Account Code
- Account Type
- Agency
- Branch
- Optionally
enter an invoice Message.
To select
an available invoice message, click the Select
Message link label on the Invoices
header bar. Click on the appropriate message
in the list and click Finish.
- Select an invoice Priority and Complexity.
- To change the circumstances under
which you are notified that the invoices have printed, click the Change Notification
Settings link label, select the desired radio
button, and then click Finish
or press [Enter].
These are the notification options:
- Notify
if unsuccessful only
- Notify
if successful or unsuccessful
- No notification
- Different
distribution options are enabled, depending on the preferred contact
method for the accounts that are marked to receive invoices.
Agencies that use invoice quality check do
not distribute the invoices immediately upon generation; the invoices
are distributed upon approval. If an invoice being approved has a delivery
method of Mail, a Print
window displays at this time, where you can select the printer to which
to send the invoice when it is approved.
- Choose to send or print the invoices Now
or Schedule
them to be sent or printed later. If you choose Schedule,
enter a date
and time
for the invoices to be sent or printed.
- If the invoices are for clients, you may have the option to select
the Send SMS
checkbox to notify the primary contact on each account via text message
that the invoices have been generated (this option is not available
for other entity types.) Click here
for more information on how the default setting for this checkbox
is determined.
If you are sending an SMS message, optionally change the Template for the message:
- Click the lookup
button
 in the Template
field.
in the Template
field.
- To filter the list of available templates, select a Tag.
- Select the Template
and then click Finish.
- Click Preview
to view the invoices before printing them.
Note: Printing
from the preview does not generate the invoices or provide any auditing.
To generate the invoices, close the preview and click Finish.
Click Finish
or press [Enter]
to generate the invoices.
Click Cancel
or press [Esc]
to exit the workflow without generating an invoice.
Note: Archived
transactions are omitted from invoices, and these transactions' amounts
are excluded from Amount and
Balance fields.

 .
.