Attach an Email from Attachment List
Important! When closing Home Base, Applied TAM verifies that all temporary files are deleted and all attachments are closed. If any attachments are open, the Open Attachments window displays listing the attachment files that are open. In order to exit Applied TAM, all attachments must be closed. See the Introduction to TAM article for more information.
For an alternate workflow, see Attach Email via Drag and Drop.
- From Home Base, click Clients & Files.
- Select the appropriate entity type and the appropriate entity in the list.
- Click the Attachment List button on the button bar.
- On the Attachment List, click Add below the button bar and select Attach an Email.
- On the Attach Email screen, select the Service and Folder containing the desired email. The email items in the selected folder display at the bottom of the screen. You can also select the Find radio button, type in a search criterion, and click Find Now to display search results.
- Select the email from the list and click Attach.
- On the Attachment Detail window, select the Entity Type, Entity Code, Policy (optional), Claim (optional), Category, Subcategory (optional), and Description. You can type directly into the text fields or double click inside each to select from a list of existing options.
Note that policies displayed in red are expired.
- Make the desired selections in the Options frame:
- Save Attached Files: Include any files attached to the email.
- Delete from Inbox: Delete the email from your inbox upon attaching it in TAM.
- Create Activity: Launch the Add Activity workflow after the email is attached.
- Client Viewable: Includes the attachment in the data extract for organizations using Applied CSR24.
- Click OK.
If you did not select the Create Activity checkbox, go to step 12.
If you selected Create Activity, the New Activity Detail screen displays.
- Fill in the Activity Detail screen and click OK.
- Click OK to close the confirmation screen.
- On the Attach Email screen, click Close, or repeat from step 6 to attach another email.
When you click Close, the attached email appears in the Attachment List.
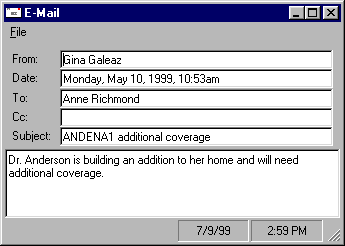
To view an attached email, click Options > Open Attachment (or double click the email in the list).
To resize the Email window for easier viewing, click and drag any border. The new size is saved for future TAM sessions. To print the message from this window, click File > Print.