Tabs
Data Columns: Criteria on this tab can be dragged to the Major Sorts and Minor Sorts boxes and to the canvas.
Insert: Non-data items can be dragged from this tab to the canvas.
Criteria: Criteria for the selected cheque layout are listed on this tab. You can drag items from this tab to the canvas.
Language: use this tab to specify which language(s) your cheque layout will support.
Use the Add and Delete buttons to add or remove languages from the layout. When you click Add, you are prompted to select an existing language from which to copy the layout. Deleting an existing language also removes all text and settings specific to the layout for that language.
Select a language in the list and click the Edit button to specify which language is active for editing. The active language displays in the Language dropdown menu on the Format Toolbar. If you wish to activate a different Language for editing, use this dropdown menu to toggle between them.
Note: Every cheque layout must have one default language. The default language cannot be deleted.
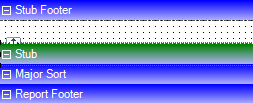
Canvas: This is the main area of the screen. It is where information is moved, added to the check, etc.
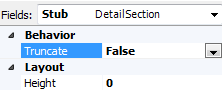
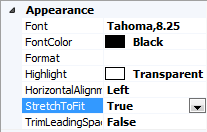
Properties:
Properties of the selected field display. Use this area to specify
font, font size, font color, format, highlight color, alignment, location,
and field size. There are additional options for items found on the
Insert tab.
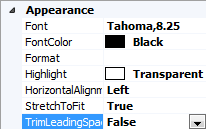
Note: If
you are editing a layout for a language other than the default, some
Properties are grayed out
and cannot be edited. These properties are not language-specific and
can only be changed on the default layout. Any changes you make to
them on the default layout will be applied to the layouts for all
other languages as well.


 ,
,  , and
, and  buttons to
specify the number of pages that should display on the
screen.
buttons to
specify the number of pages that should display on the
screen.